Replacing the battery in an LG G2 can breathe new life into a device that has served you well over the years. While modern phones often come with sealed designs, the LG G2 requires careful attention to detail and the right approach to ensure a successful battery swap. This comprehensive maintenance guide walks you through the entire process, from preparing your workspace to testing your device after reassembly, ensuring that UK users have all the information needed to complete this repair confidently and safely.
Preparing your workspace and gathering essential tools
Required Equipment and Safety Precautions for Battery Replacement
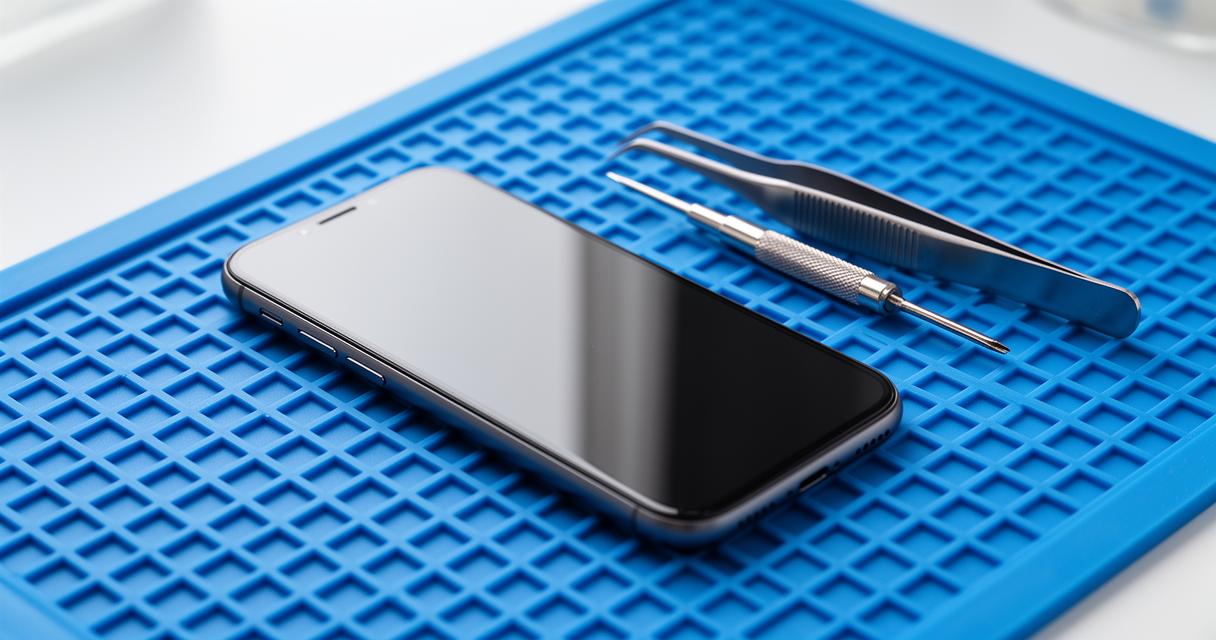
Before you begin the process of replacing your LG G2 battery, it is essential to gather all the necessary tools and create a safe working environment. A clean, well-lit workspace will help you keep track of small components and prevent any accidental damage. You will need a crosshead screwdriver, a set of tweezers, a nylon spatula, and a heat gun or hair dryer to soften the adhesive that holds the rear cover in place. Additionally, having a plastic card or guitar pick can be useful for prying open the device without scratching the chassis. It is also advisable to have a small container or magnetic mat to store screws and other tiny components during the disassembly process. Safety precautions are equally important; ensure that the device is powered off before you proceed, and work in an area free from static electricity to avoid damaging internal components. Taking these steps will set a solid foundation for a smooth and successful repair.
Powering down your device and initial disassembly steps
The first step in any mobile repair is to confirm that the device is completely turned off. Press and hold the power button on your LG G2 until the screen goes dark and the device shuts down. It is crucial to ensure that the phone is off before you proceed, as working on a powered-on device can lead to short circuits or other electrical issues. Once the device is off, remove the SIM card drawer if applicable, as this will give you better access to the internal components. The next step involves carefully applying heat to the rear cover using a heat gun or hair dryer. The adhesive used by manufacturers to secure the cover can be quite stubborn, so gently warming the edges for several seconds will help soften it. After applying heat, insert a plastic card or nylon spatula along the edge of the rear cover and gently pry it away from the chassis. Take your time during this step to avoid cracking the cover or damaging the delicate internal components.
Accessing and Removing the LG G2 Battery Safely
Detaching the Rear Cover and Disconnecting Internal Components
With the rear cover removed, you will gain access to the internal layout of your LG G2. The battery is typically surrounded by other components such as the motherboard, connectors, and various modules. Before you can remove the battery, it is necessary to disconnect the battery connector from the motherboard. Use a pair of tweezers or a nylon spatula to carefully lift the connector, ensuring that you do not apply excessive force that could damage the delicate pins. In some cases, you may also need to remove or disconnect other internal components such as the earpiece or connectors that are in close proximity to the battery. Take note of the positions and orientations of these components, as you will need to reuse them during reassembly. This stage requires patience and precision, as rushing through the process can lead to accidental damage to the motherboard or other critical parts of the device.

Extracting the Old Battery Without Damaging the Chassis
Once the battery connector is safely disconnected, the next step is to carefully extract the old battery from its housing. The battery is often secured with adhesive tape, which can make removal a bit challenging. Use a nylon spatula or a plastic card to gently pry the battery away from the chassis, starting at one corner and working your way around the edges. Apply steady and even pressure to avoid bending or puncturing the battery, as lithium-ion batteries can be hazardous if damaged. If the adhesive proves to be particularly stubborn, you can apply a small amount of heat using a hair dryer or heat gun for a few seconds to soften it further. Be cautious not to overheat the device, as excessive heat can damage the LCD screen or other internal components. Once the old battery is free, carefully lift it out of the housing and set it aside for proper disposal. It is important to dispose of the old battery responsibly, as lithium-ion batteries contain materials that can be harmful to the environment if not handled correctly.
Installing the New Battery and Reassembling Your LG G2
Securing the Replacement Battery and Reconnecting Connectors
With the old battery removed, you can now proceed to install the new battery. Before placing the new battery into the housing, ensure that the contact points are clean and free from any debris or adhesive residue. Position the new battery carefully in the same orientation as the old one, making sure that it fits snugly within the chassis. If the new battery does not come with pre-applied adhesive tape, you may need to apply a thin line of adhesive or use double-sided tape to secure it in place. Once the battery is positioned correctly, reconnect the battery connector to the motherboard. Use your tweezers or fingers to gently press the connector into place, ensuring that it is fully seated and secure. Double-check that all other connectors and internal components, such as the earpiece or any modules you may have disconnected earlier, are properly reconnected. This step is crucial to ensure that your device functions correctly once it is powered back on.
Testing your device and final assembly checks
Before you seal the device by reattaching the rear cover, it is wise to test the new battery to confirm that it is functioning properly. Carefully press the power button to turn on the device and observe whether it powers up as expected. If the device does not turn on, double-check all connectors to ensure they are properly seated and that there are no loose components. Once you have confirmed that the device powers on and functions correctly, proceed to reassemble the phone. Align the rear cover with the chassis and press it firmly into place, ensuring that the adhesive or clips engage properly. If the adhesive has lost its stickiness, you may need to apply fresh adhesive tape to secure the cover. After the cover is in place, insert the SIM card back into the drawer if you removed it earlier. Finally, take a moment to inspect the device for any gaps or misalignments, and test all buttons and functions to ensure everything is working as it should. By following this comprehensive maintenance guide, UK users can successfully replace the battery in their LG G2 and extend the life of their device for many more months of reliable use.